how to draw anything by eye
Lesson Description
Materials List:
Pencil / Paper / Eraser / Straight edged stick or even a piece of string held taut will do the job.
· Still Life Setup Recommendations:
Set up a simple arrangement of very basic objects for your still-life. It will be better to keep this simple so we are focused on becoming familiar with these materials rather than on proving what we can do or on trying to describe complicated forms. This is true even if you’re accustomed to drawing.
For this assignment, it’ll be best to use objects that are straight sided rather than curved like fruits.
Keep the background and objects as simple as possible. Ideally little to no patterns or images should clutter the objects or space around your arrangement.
Use at least 3 objects but I don’t recommend more than 5.
If you have a little more experience, you can play and be creative with how you set up your still-life. Try to anticipate what will be required while drawing. Consider what will make an interesting and challenging composition.
Ideally, you should put this arrangement in a place that isn’t affected by natural light and doesn’t have to be moved while you’re working on it.
We will be working on being specific with our visual descriptions and any adjustments can mean losing connection with the rigor of your work. Use this exercise to expand your awareness of your process and the experience.
Simple shapes and straight edges can be revealing and clarifying.
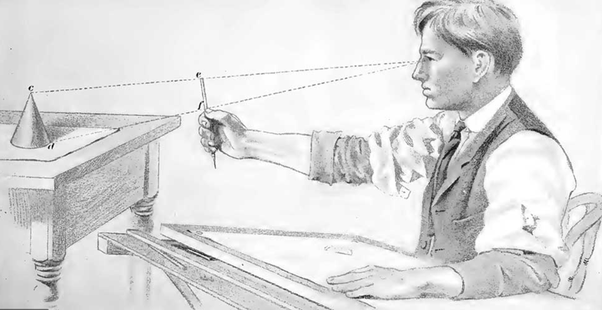
You’re going to be using a straight edge to measure out objects in the arrangement using a variation on the method known as “sight-size”, which dates back to at least the European Renaissance.
Edgar Degas 1834 -1917
Lastly, we’ll be reviewing how to measure the angles with a straight edge.
All three of these techniques compose a method that can help students understand the basic elements that construct a drawing.
This lesson is designed for Observational Line drawing and should not have shading of any kind. Shading comes later…
This is becasue it’s harder to hide confusion and lack of effort behind simple lines. Many an error has been masked by the use of shading and and other obfuscating tricks. Encountering our errors by simple lines is ideal for developing our visual apprehension and description skills. It is also vital to an internal practice of self-honesty which enables us to position our senses accurately relative to our experience.
‘A Naughty Child’ Landseer, Edwin Henry (Sir), 1802 - 1873
With effort, there will be smirking treasures at the bottom of your efforts.
*drink responsibly, if you are under 21, NYS prohibits the consumption of alcohol. 😁
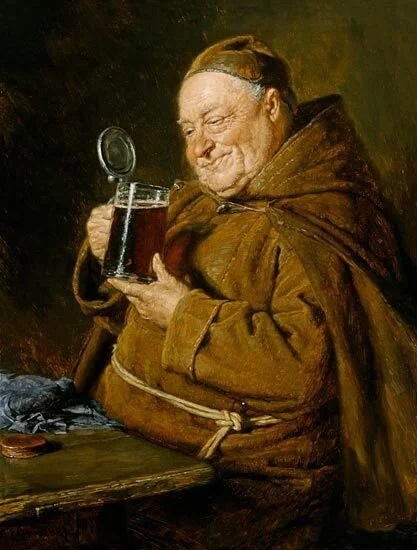
Doesn’t the drunk monk look like a healthy chap?🙄
We’ll also be using a technique known as a “plumb-line” as seen in the Degas drawing of a ballerina to the left. This technique helps align the objects in the image to one another and creates more believable relationships between the objects and their surroundings. In the video I go over some of the other usages for the technique. Future videos will review yet further ways to use this rich and simple technique.
Don’t be coy of shy about it.
The work will be work and should test your limits. Everything we view as failure is genuinely a door to discovery. In tasks like drawing we can internalize those lessons so they can expand into other aspects of our lives.
Remember, finding our limitations is a major positive. I recommend a practice of celebrating any such difficult encounters despite many of our conventional habits.
Discovering where these limitations are is the only way to find out where you can grow.


