art tutorials, lessons and examples
How to Draw Anything by Eye
How to Draw Anything - Observational Line Drawing Techniques
This lesson is designed to show students the most direct way of learning how to draw whatever they see with the least amount of practice. Whether you've got time on your hands and you want to learn how to draw, or you want to improve your foundational skills and take your work to the next level, this tutorial illustrates master techniques that allow artists to draw anything just by looking. Exercises included can be accomplished with minimal materials.
Professor Dave goes through a step-by-step tutorial illustrating techniques such as "sight-size", "plumb-line" and how to measure "2-D angles" by eye. Here you'll see a real life example of what it's like to work on a drawing with a variety of tips, while considering the act of drawing along the way. The lesson is drawn from university classes reviewing the fundamentals and tools to make accurate observational drawings.
Materials: Pencil Eraser Paper Straight Edged Stick or even a piece of string.
How to Draw: I’m a Little Teapot
I’m a little teapot drawing lesson builds on the previous video “The Straight Line Method” found below.
Professor Dave goes over ways of analyzing our drawing subject, reviews variations in shading and line quality and talks a bit about the philosophical underpinnings behind observational drawing.
Materials: Pencil, Eraser, Paper and some stuff to draw - preferable your radist lookin teapot.
How to draw: Straight Line Method
Part one in the How to Draw Series. The Straight Line Method is a university lesson giving overview on how to simplify subjects to give better definition to our drawings and train our eye to see more accurately.
Materials: Pencil, Eraser, Paper and some stuff to draw
How to Draw a Cup, Step One: Draw a Cup
Workshop held on October 2nd, 2021. More content describing this workshop coming soon.
examples of my student’s work and class exercises
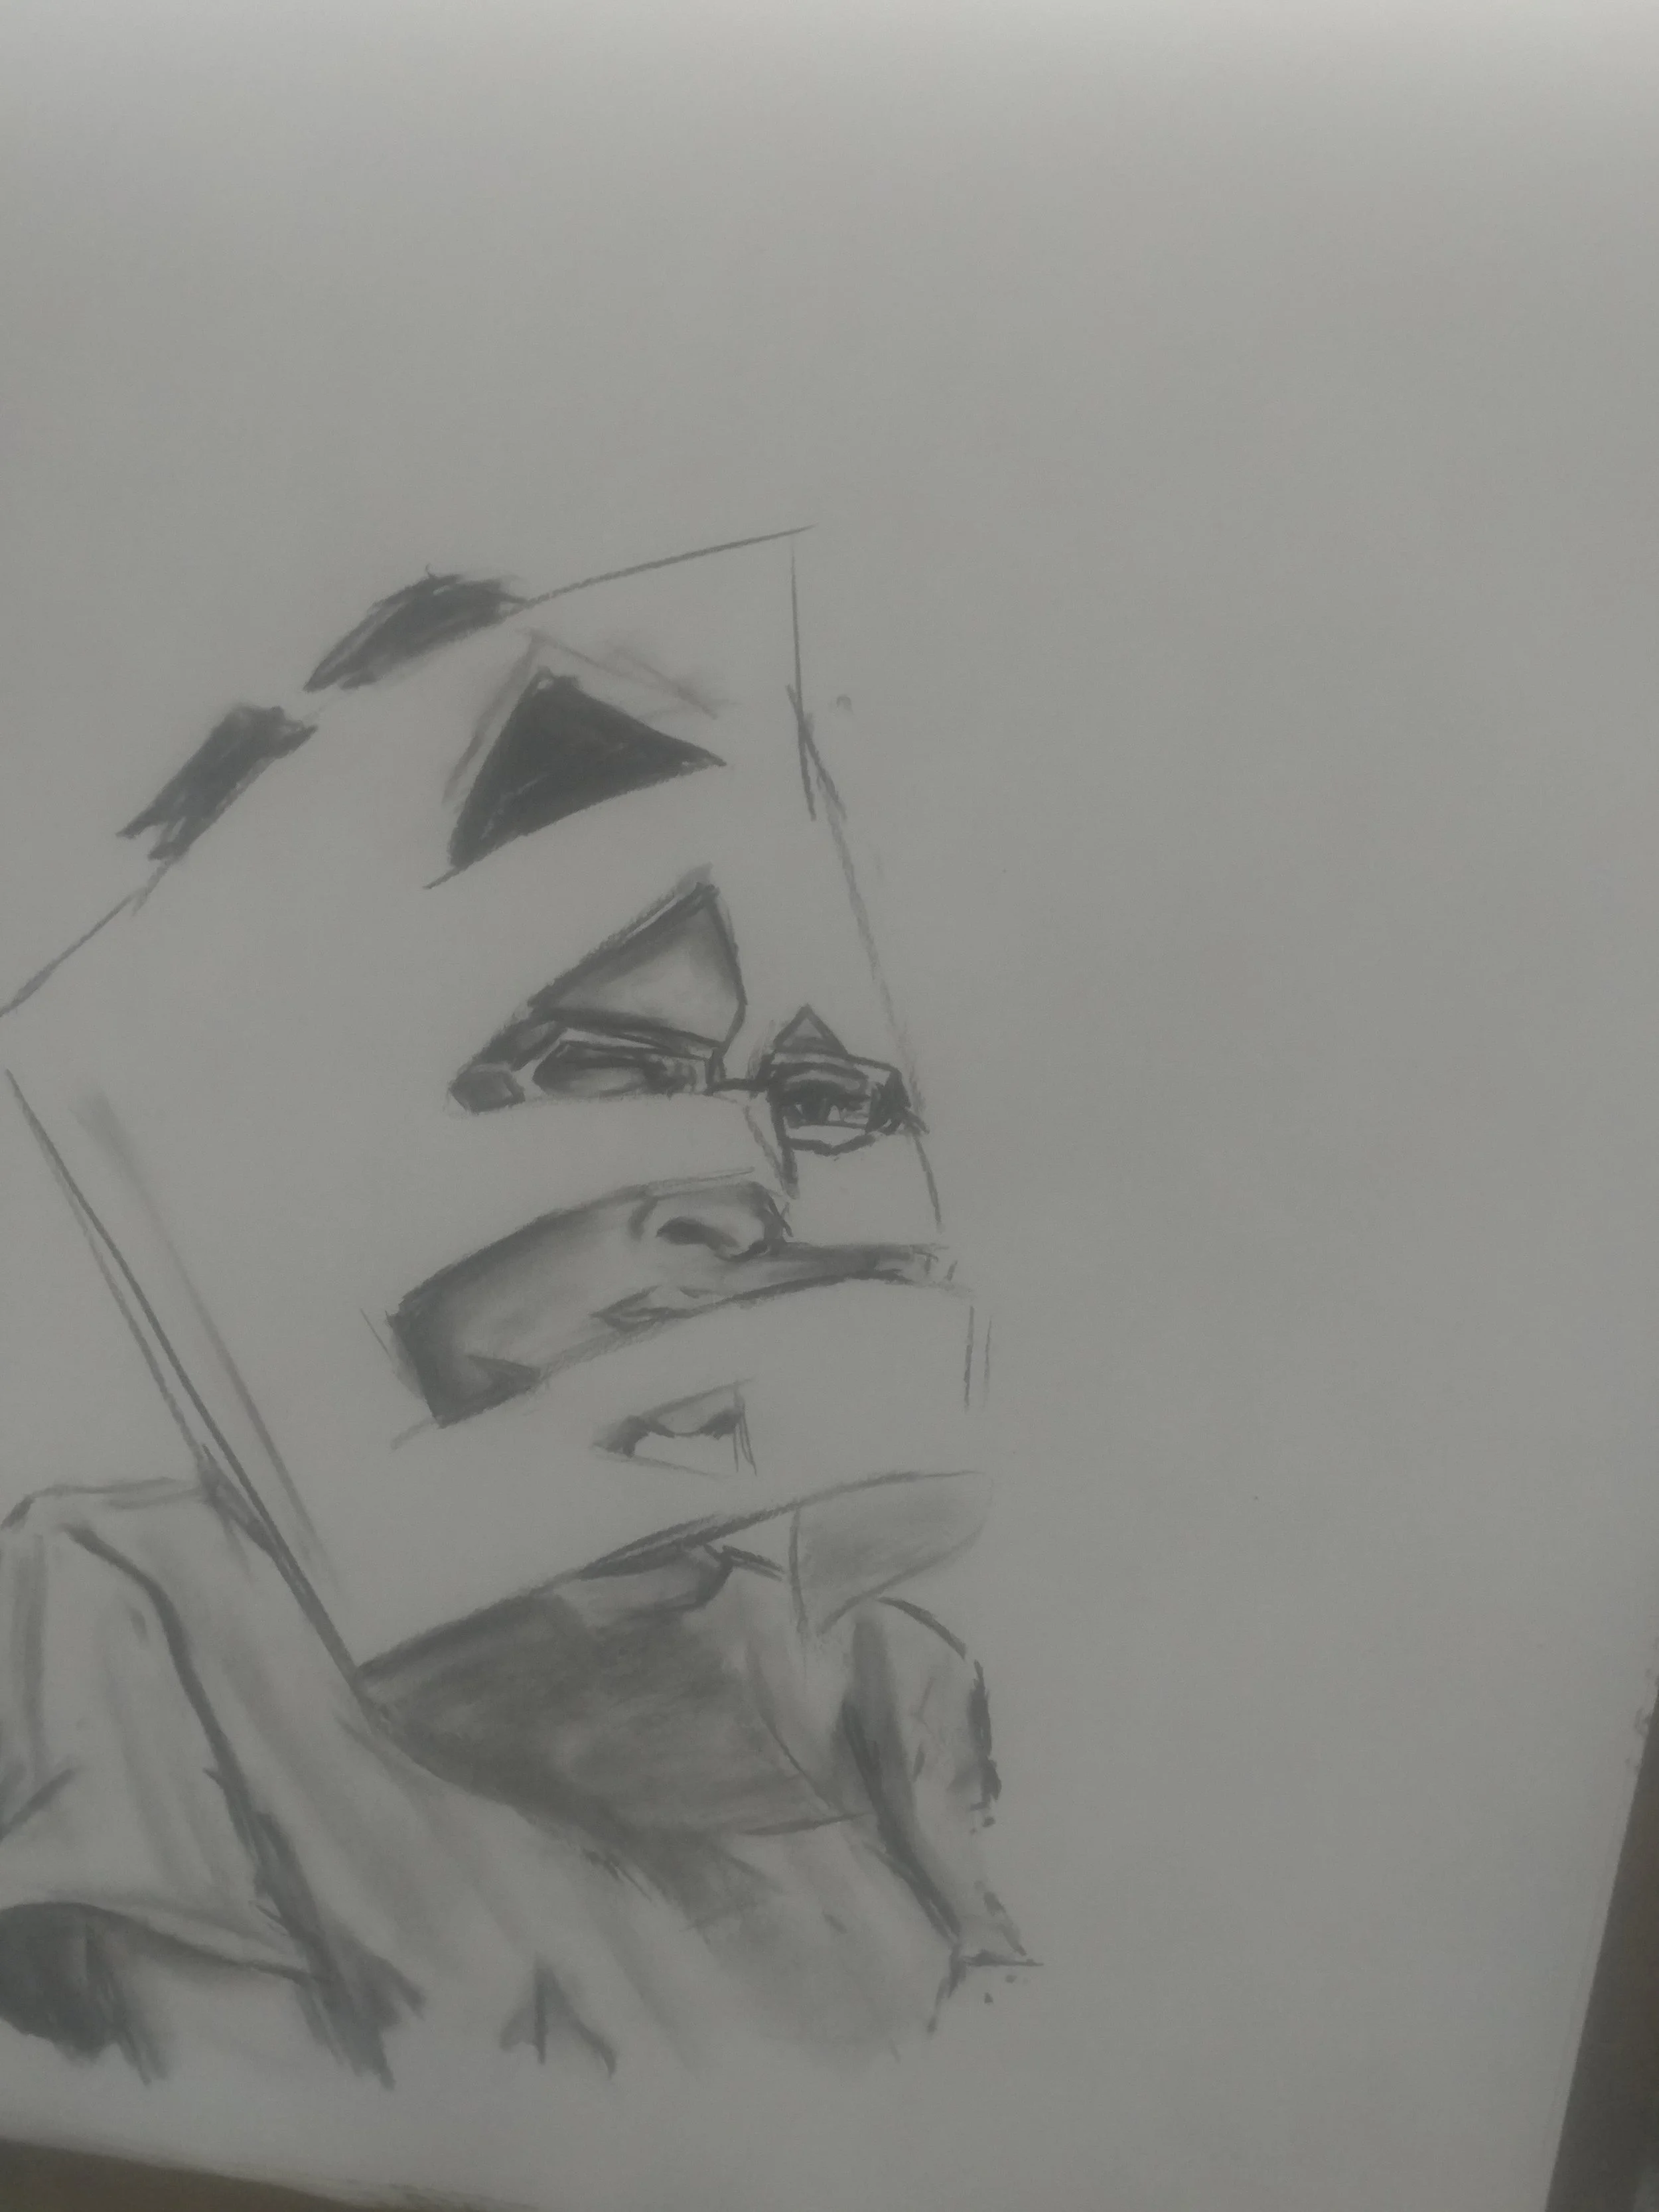
Some examples of in class demonstration sketches.


